How to sew a scrub hat: Milton Neighbor gives detailed instructions
Get the pattern pieces ready:
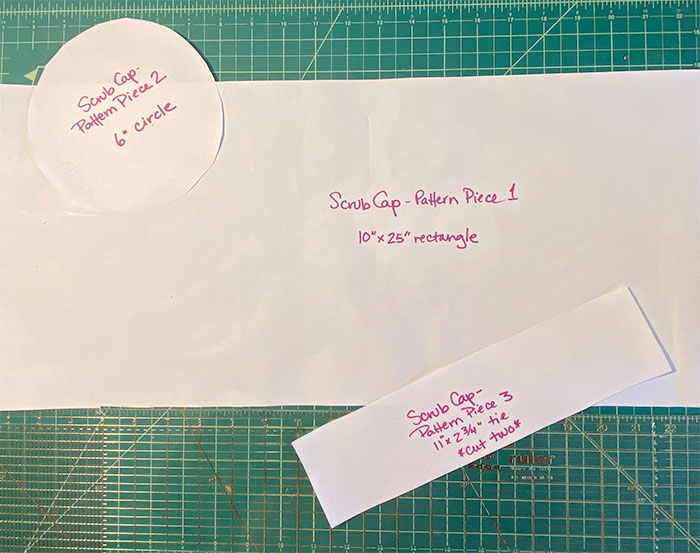
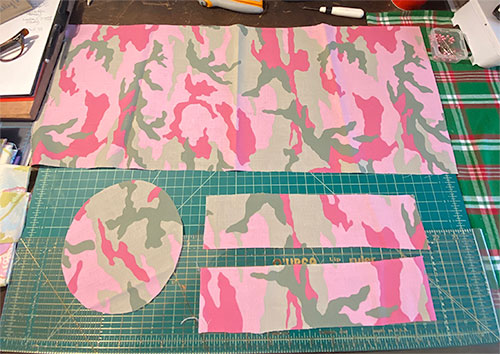
These are the pattern pieces for the scrub cap:
- 6″ circle (one)
- 10×25″ rectangle (one)
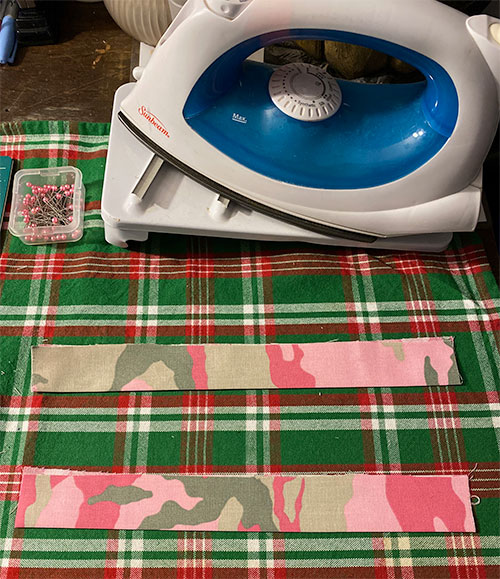
- 11″ x 2-3/4″ tie (cut two)
You cut one large rectangle one circle and two of the small rectangular ties.
I cut these out of a roll of easel paper, but you can use anything – even regular printer paper – and tape pieces together to make the large 10″ x 25″ piece of paper.
Directions:
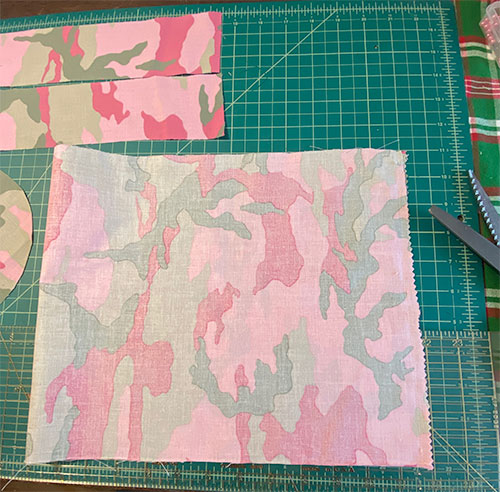
- Cut out the pieces and run over them quickly with an iron.

- The first thing I sew is the short side of the long rectangle, right sides together. I use pinking shears on the sewn edge.

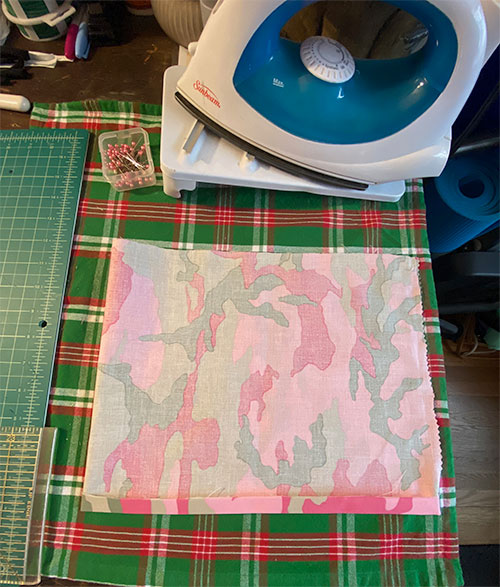
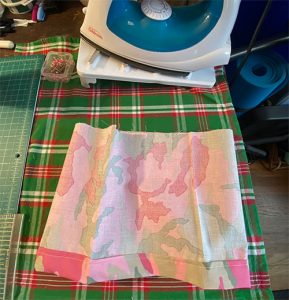
- Fold one sewn long edge over a half inch and press.

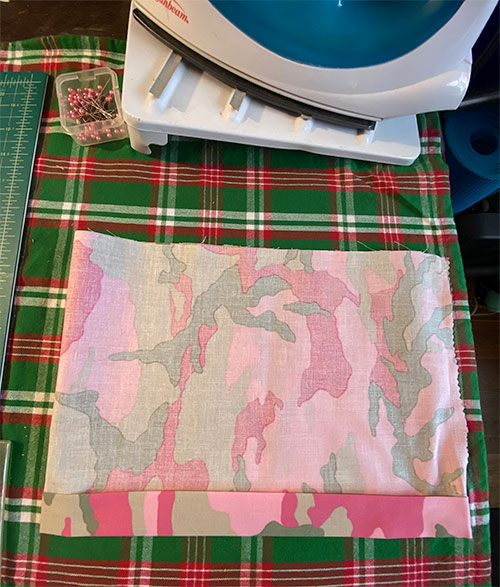
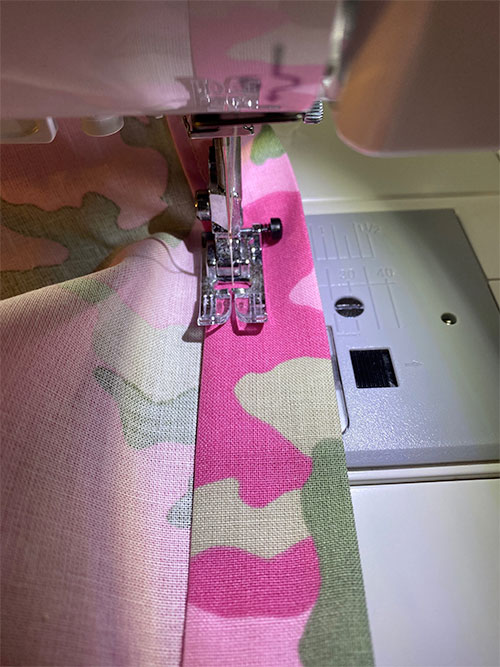
- Then fold that same edge over approximately an inch and press again.

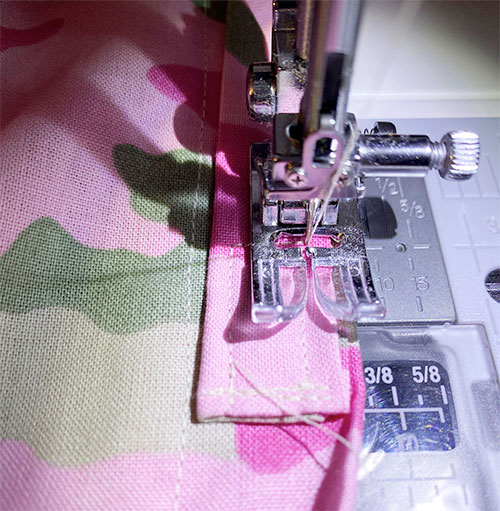
- Stitch into place:


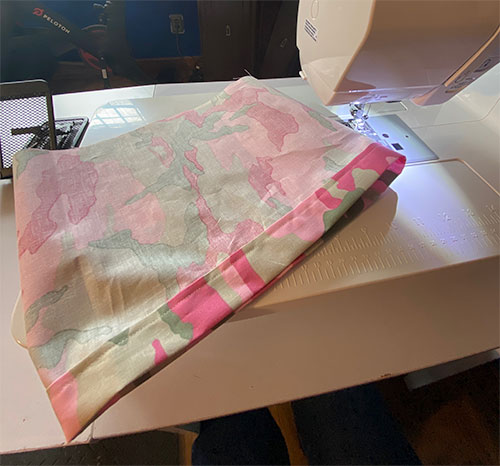
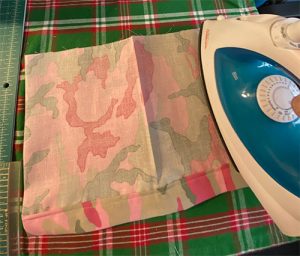
- Press finished main piece so that the pressed lines indicate quarters.
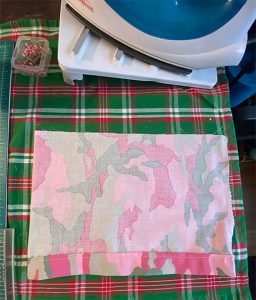
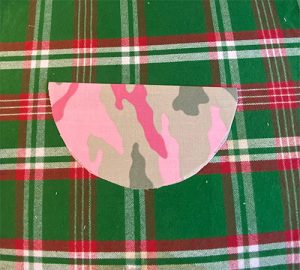
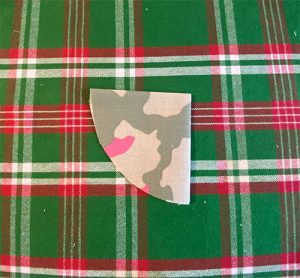
- Press 6 inch circle so that pressed lines indicate quarters
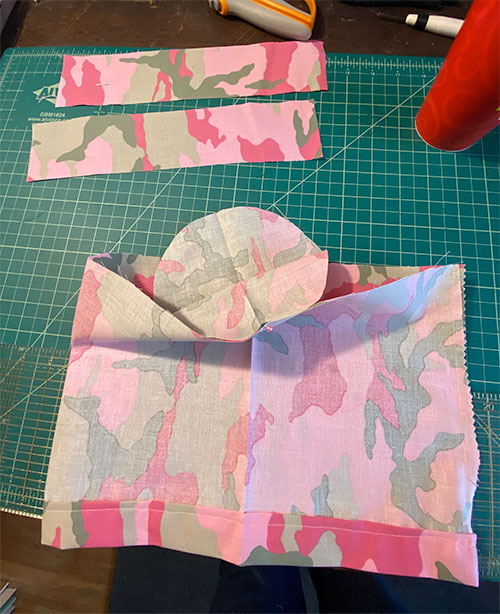
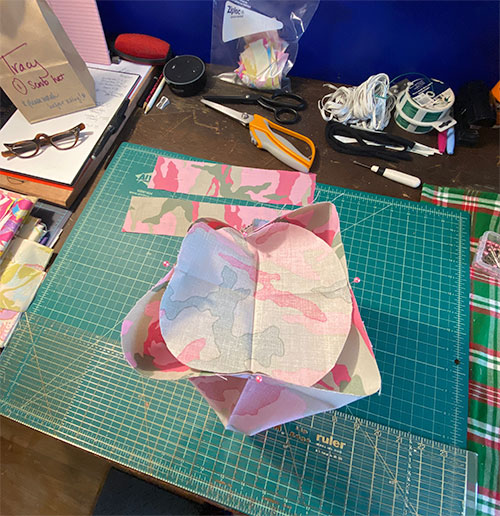
- Match pressed quarter lines and pin circle to body of cap.
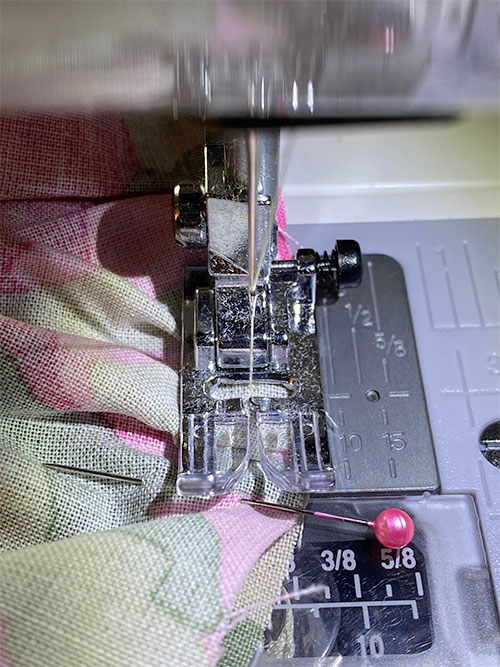
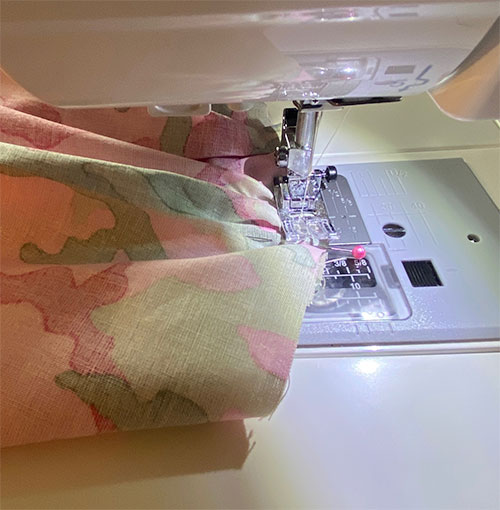
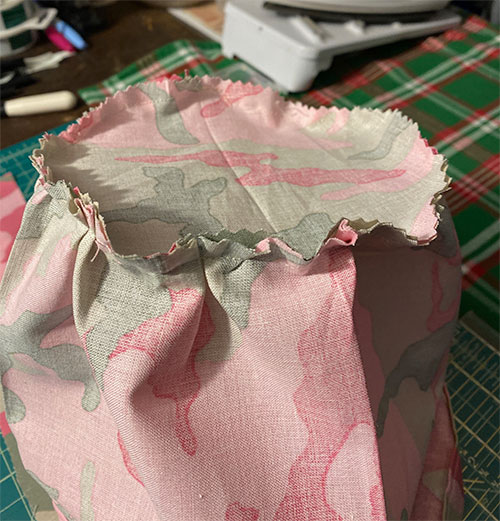
- Sew circle to body, creating small gathers as you stitch each quarter:

- You are creating gathers in the body to fit it to the smaller circle. This is the most painstaking part, and should be done slowly and carefully.

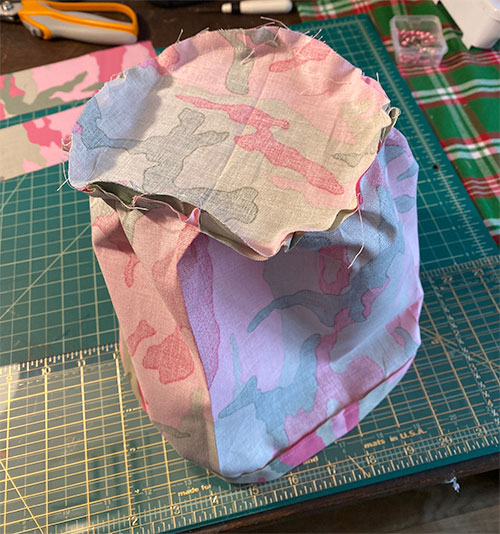
- Once the circle is connected, use pinking shears to trim edges of circular seam.
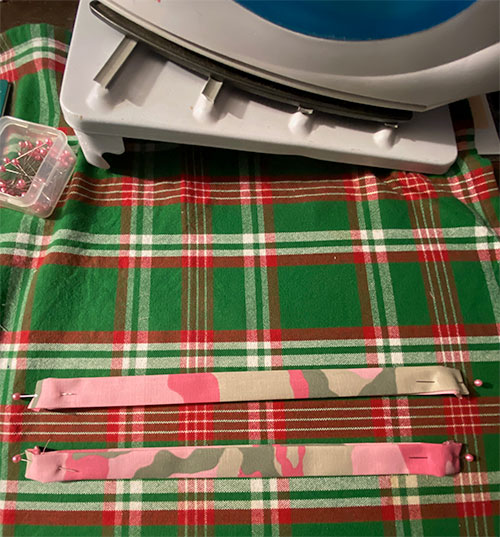
- Next, fold the ties in half and press.

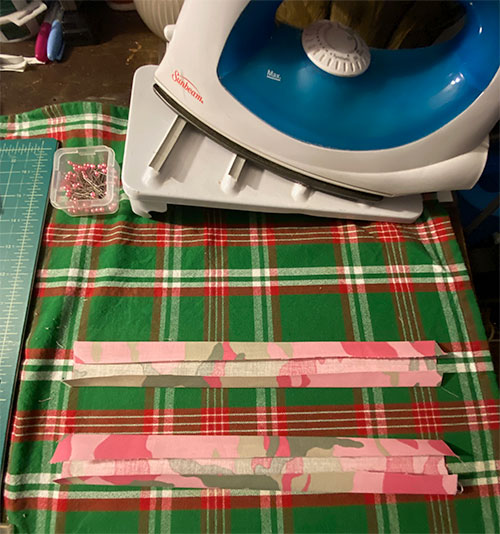
- Fold edges in and press.

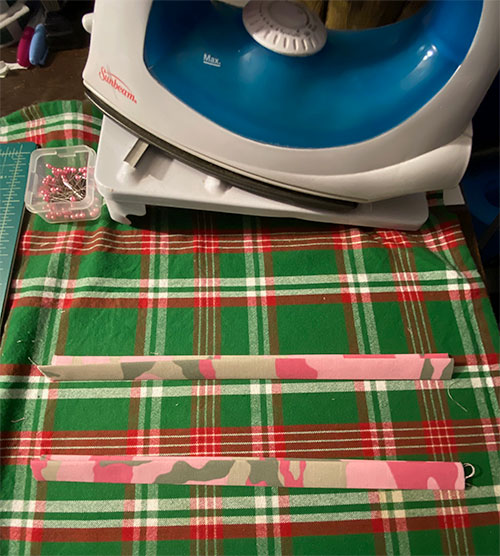
- Fold ends of ties under, press and pin.
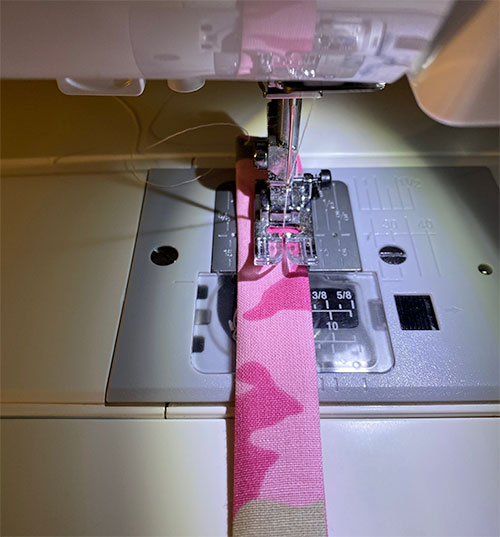
- Sew down edges of ties.

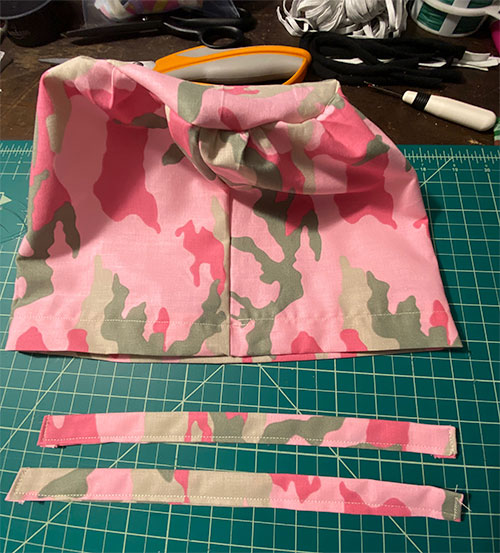
- Now you have a finished hat and finished ties – just need to put them together!

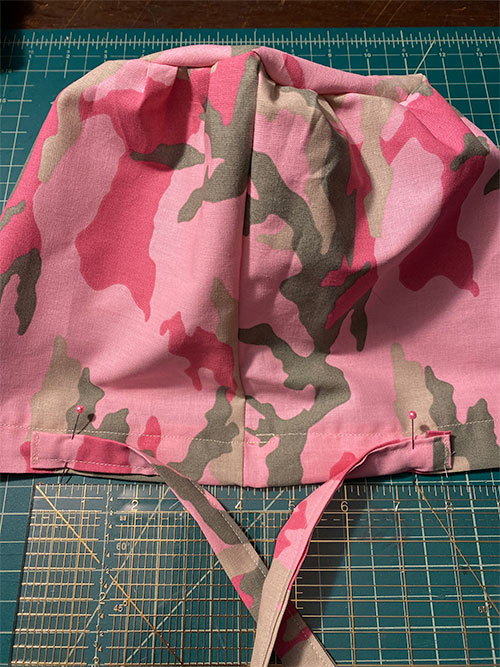
- Pin each tie out 4 inches from the back seam facing in to the back seam.

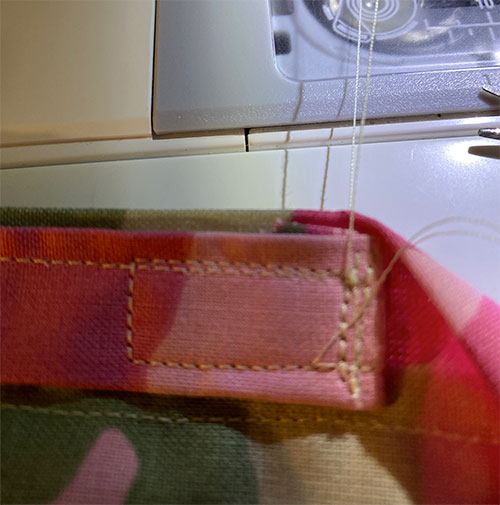
- Attach each tie by sewing a 1 inch rectangle.
- Congrats! You’re done!

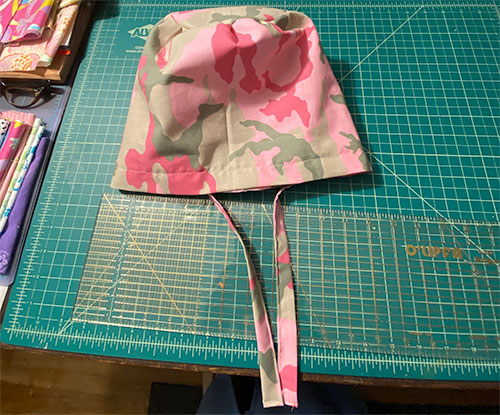
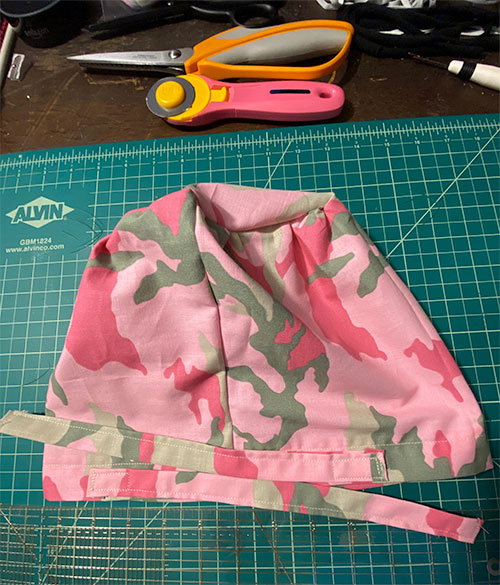
Finished scrub hat:
Thank you!
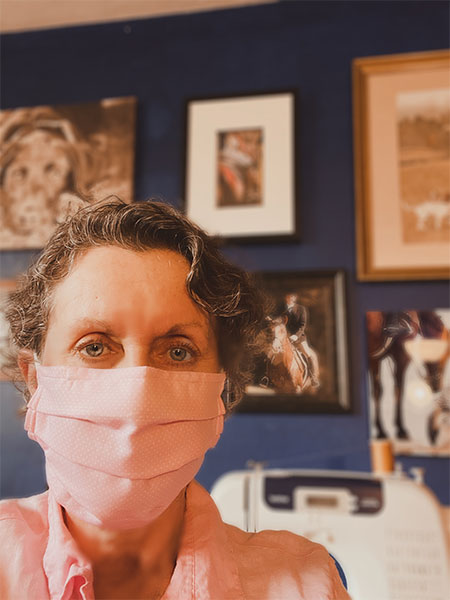
These instructions were created by Milton resident Ruth Baltopoulous, who has been tirelessly and voluntarily sewing masks and caps for the medical community.
For more instructions:
How to sew a mask: Milton Neighbor gives detailed instructions





Be the first to comment on "How to sew a scrub hat: Milton Neighbor gives detailed instructions"